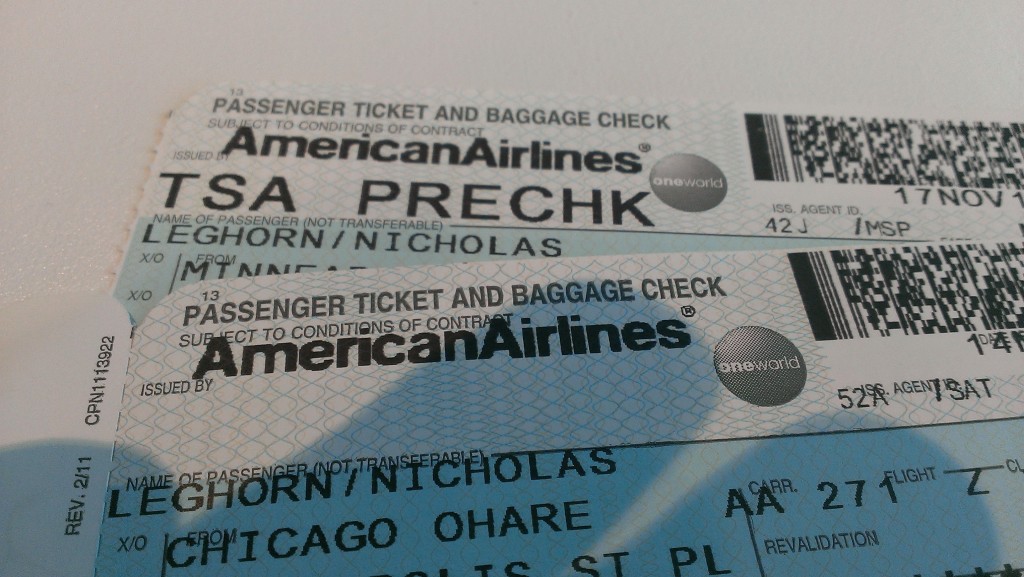
I was all excited for my first flight since being approved for the TSA’s Pre-Check program. I was looking forward to breezing through security without all the usual hassle, but alas my dream was not to be. When I printed out my boarding pass, the Pre-Check logo was sadly missing. I had done everything right — entered my “known traveler” number in the system, flying from a Pre-Check airport, everything that was on the website — but there was the boarding pass, logo-free. After some digging, I figured out why.
The Pre-Check program is designed to positively identify a single traveler to the TSA that has been properly pre-screened and allow them access to the quicker Pre-Check lanes. Part of that process is making sure that the individual who was screened for the system is the same individual listed on the boarding pass. So, in order to ensure that Bob Jones is really the Bob Jones that was screened, they need the full name of the traveler — including the middle name.
My AAdvantage account was created when I signed up for the Citi rewards credit card, so they used that information when filling out my personal information. And while they had my full first and last name on file, they only had my middle initial. That was good enough for most traveling, but when using the Pre-Check the middle initial isn’t good enough. You need your full name listed on the reservation EXACTLY as it appears in the Pre-Check application.
I figured it out when I made it to my destination, and called the friendly folks at American to get my full middle name listed for the return trip. When I showed up at MSP to check in for the journey home, the words “TSA PRECHK” appeared on my boarding pass and finally allowed me to use that gloriously short line.
In short, if you have been approved for the Pre-Check program and the status still isn’t showing up even after entering the known traveler number, double check your name.

